Monthly Archives: September 2012

Notes from the Manual: High Key and Low Key Lighting

HIGH-KEY LIGHTING

Excerpt from the Canon Boot Camp Manual

High-key lighting is often used in multi-camera sitcoms and comedies. It’s usually free from dark shadows so the boom mic above the actors doesn’t cast a shadow. Also, they don’t have to re-light for each camera’s viewpoint.

The advantage of high-key lighting is that it doesn’t require re-lighting for each scene, which allows the production to complete the shooting in hours instead of days. The primary drawback is that high-key lighting fails to add meaning or drama to the shot.

High Key lighting example

Low-Key Lighting

The term “low-key” is used in cinematography to refer to any scene with a high lighting ratio, especially if there is a predominance of shadowy areas. It tends to heighten the sense of alienation felt by the viewer. It is commonly used in film noir and horror genres.

Dramatic Low Key Lighting Example


Low Key Lighting example


Download the full Canon Boot Camp Reference Manual from our Facebook Page

Adobe Premiere Pro & Final Cut Pro X Software Workshop Combo Nov 17th

Adobe Premiere Pro & Final Cut Pro X Software Workshop Combo Digital Editing Workshops

Larry Jordan is arriving on November 17 (Saturday) to The Association and the Canon Boot Camp to deliver two workshops. Although we are presenting them here as one combo event, they may be attended separately as well (if you only want to attend one of them).

Larry is an expert at both softwares and has a ton of experience in editing and in the film industry:

"Larry Jordan is an internationally-renowned consultant and Apple-Certified trainer with over 35 years experience as a television producer, director and editor with national broadcast and corporate credits. His informative and entertaining teaching style provides video and film editors around the world with unique editing techniques, methods and resources to increase productivity and enhance their skills."                                   www.larryjordan.biz


We have Canon Boot Camps nearly every month. But I can't promise we'll have these special workshops on a regular basis, so take advantage of Larry while we have him! We'll be continuing our tradition of hands-on training with these digital editing workshops, so if you want to get your hands dirty, bring your laptop with at least the trial version of the software you want to learn.

Registrants will be entered into a drawing for a $200 cash prize towards which ever software they prefer, or just towards the cost of their tickets.

If you've never used editing software before, these probably aren't the best workshops to attend. If you have some skill with digital editing, on up to very experienced, these workshops are a great option. There won't be a Premiere Pro or FCPX question Larry can't answer (we're taking bets here at the office…) so bring it on! Register here or call 818-841-9660 to register over the phone.

Notes from the Manual: Chroma Subsampling and DSLR Color Space

COLOR SPACE

Excerpt from the Canon Boot Camp Manual

Another problem the Canon engineers faced was whether to have the 5D record movies in 4:4:4, 4:2:2, or 4:2:0 color space. Actually, since they weren’t planning to redesign the whole camera, 4:4:4 files would have been too big for the 5D.

Again, the engineers worked backward from what the eye could see. AND the size of the screen the audience would be looking at, i.e. a High Def TV screen.

So, they set a realistic goal, rather than a goal of ultimate perfection that would make a camera too big for the Associated Press, and make its output so data heavy you’d have to buy a whole new computer to edit it. They took a practical approach to achieve AP’s goal.

So, (we think) they decided on 4:2:0. Why? Because it saved a ton of data storage and most of us can’t tell a difference once 4:2:0 is upconverted to 4:2:2 Pro Res.

Below is a link to a video explaining the concept of color space and how it works.


Download the full Canon Boot Camp Reference Manual

from our Facebook Page

What can a Still Photographer learn from the Canon Boot Camp?

More and more, we have the pleasure of hosting out-of-towners at the Canon Boot Camp in Los Angeles, CA. I truly feel that this enriches the Boot Camp experience for us as well as for the participants. We’ve had participants from Florida, New York, Arizona, Georgia, etc. Now, not only are we all swapping tips from the trenches of Hollywood, but also we get to hear stories from all over.

Charles Kay, Jr. flew in from Omaha, Nebraska, to attend our August workshop. However, Charles is not a complete stranger to California, since he graduated from the Brooks Institute of Photography in 1992. Charles and his wife Laurie are still photographers who own a studio rightfully named Laurie and Charles where they photograph beautiful portraits, commercials, and fine art. They also have one of the most beautiful studios I’ve ever seen. Well…only in pictures.

Being in the world of still photography, Charles is used to doing all of the work mostly by himself. This includes setting up, lighting, photographing, directing, etc. So, having a crew at our Canon Boot Camp Day 2 was different, and maybe even a bit of a luxury.

Charles was a true professional at our workshop and we are sure he passed on a bit of knowledge to everyone else who attended! 

Here, he talks about what he learned about digital filmmaking at the Canon Boot Camp:

Polly Morgan DP and The C300 Crash Course: Part 1

Canon C300 When we got a call asking for a 1-on-1 C300 course, we brought in Polly Morgan, who was the DP on “Mobius.” “Mobius” was commissioned by Canon and shot on the C300 for the launch of the cinema camera.

When Polly shot “Mobius”, the C300 she used was a prototype, so the buttons were not even labeled. Luckily for us, Mark brought a C300 with properly labeled buttons! Phew.

Here are some tips from Part 1 of the “C300 Crash Course”

1. Color Space: Know where your piece will be shown. If your work will be shown on TV, or on the web, you do not need to shoot in a 444 color space. As Polly mentions, TV’s color space is Rec. 709 and all the extra information from a 444 source will be wasted. However, if you are doing Visual Effects, this is where a 444 color space would come in handy.

2. Beware of making adjustments that would give your footage a harsh, digital look. However, adjusting your Gamma (contrast), and Color Matrix can help you create a filmic look.

3. Polly’s personal preference for the Sharpness setting is -2.

4. When setting your Color Matrix, pay attention to the way the colors are digitally replicated. Yellows may lean toward a mustard tone, while some blues may seem more purple.


Interested in having your own private Canon Boot Camp? We realize not everyone can fit our schedule into their production time frame. If we can possibly accommodate for a private one-on-one Canon camera class, we will! Just give us a ring or send us an email.

Filmmaker Gets a Grip on his Canon DSLR 5D Mark III

New Digital Filmmaker Learns the Canon 5D Mark III

Pablo Lewin learns DSLR Filmmaking at the Canon Boot CampI had been looking forward to taking this highly praised DSLR Bootcamp for a while. I have been a Filmmaker for 5 years (Short Films/Docs/Music videos) and having just purchased a Canon 5D Mark III, needed help learning how to use it. Since I travel all the time,  The Association (with the help of the highly capable and professional Celine) was able to schedule a one on one with Fletcher Murray for the Pro Level I portion. A week later I came back on the scheduled day for Pro Level II.

On Day two we all applied our recently acquired technical knowledge filming a narrative short film with professional actors and a bunch of “camera operators” (Boot Camp students with their cameras) at four locations, including mounting the camera on a car and an old cemetery in Altadena.

They did not disappoint. Mr. Murray is a filmmaker with decades of experience and a natural teacher his explanations were clear, informative and delivered promptly and good naturedly. Suddenly the 5D was no longer a stranger, but a trusted friend. Throughout I and the rest were treated kindly, patiently and most importantly PROFESSIONALLY. I highly recommend this bootcamp for those like me who are new at DSLR filming or old hands in need of refreshing their shooting skills.

Pablo Lewin
Pablo Lewin Productions LLC
Glendora, CA

Notes from the Manual: Why Hollywood D.P.s are Excited about the Canon 5D

What got Hollywood’s D.P.s Excited about the Canon 5D

Excerpt from the Canon Boot Camp Manual


The main reason was that it had a big sensor, so it can deliver a very shallow depth of field (depth meaning how much of the picture is in focus).

Shallow and Deep Depth of Field

So the BIG DEAL was that most video cameras had such small sensors that almost everything was in focus (like the picture on the right above). But the Canon 5D sensor is huge. It was the first to deliver that shallow depth of field that could focus just on Hugh Laurie’s right eye and put the other eye out of focus.

Hugh Laurie's in focus eye shot

One inch depth of field.

SHALLOW depth of field—that’s the BIG DEAL.


Download the full Canon Boot Camp Reference Manual

from our Facebook Page

Tips on Backing Up DSLR Camera Footage

Ron Howard and Project Imagin8tion colloboration with Canon

So you’ve gone out and shot your masterpiece! Congratulations! Now it’s time to get that bad boy off the card, into your computer, edited and on its way to a festival.  Sounds simple enough, but one of the things I’ve learned over the years is that if something can go wrong, it will go wrong at some point. The smartest thing to do is be prepared for such a scenario. There’s nothing quite like the rage that builds inside of you after finding out that footage is missing or is corrupted, but it’s even worse when you could have done something to prevent it. That’s why I’ve put together a quick list of important information relating to backing up your footage and the steps you can take to secure your data.

While it’s nice to have a dedicated person on set like a data wrangler to take care of your footage, there isn’t always a budget for such a specialized position, so for the independent filmmaker, that person is typically you. It’s usually a good idea to have your computer on set so you can transfer video right away. A quiet place is nice, but don’t wander too far away from set. I had a laptop stolen once because of this and I learned the hard way to never let the computer out of my sight. Setting up a computer on set caries the advantage of actually being able to check footage beforehand and not have to wait to get home to find out it’s corrupted. 

Once you have the computer set up, copy the files over in the exact file structure it is saved as. I recommend creating a master folder and a sub folder for each particular transfer. Now this is extremely important; if you change the name of any file, or forget to include any documents included on your card, your footage will not work.                                      

Mac Hard Drive Set up
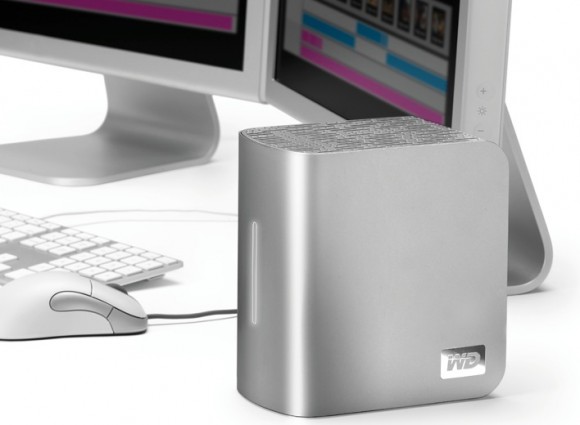
Once you’ve transferred a copy of the card, check the footage in a program such as Quicktime or VLC to see that it is playing properly. This depends on the codec you are filming with, so use an appropriate program. Finally, duplicate your footage to another hard drive or flash drive and move it away from the film site. Technology is not perfect, and people make mistakes, so just in case something happens to the original footage, you have it backed up nice and safe on another drive and in another location. If this truly is your masterpiece, I might even backup on a third drive. Better safe than sorry.

Once the footage is confirmed, you should have the card formatted. Technically  you can now erase the footage from the card from the computer, but DSLR’s from different companies use different file structures, and formatting in the camera is the best way to ensure a certain level of consistency. 

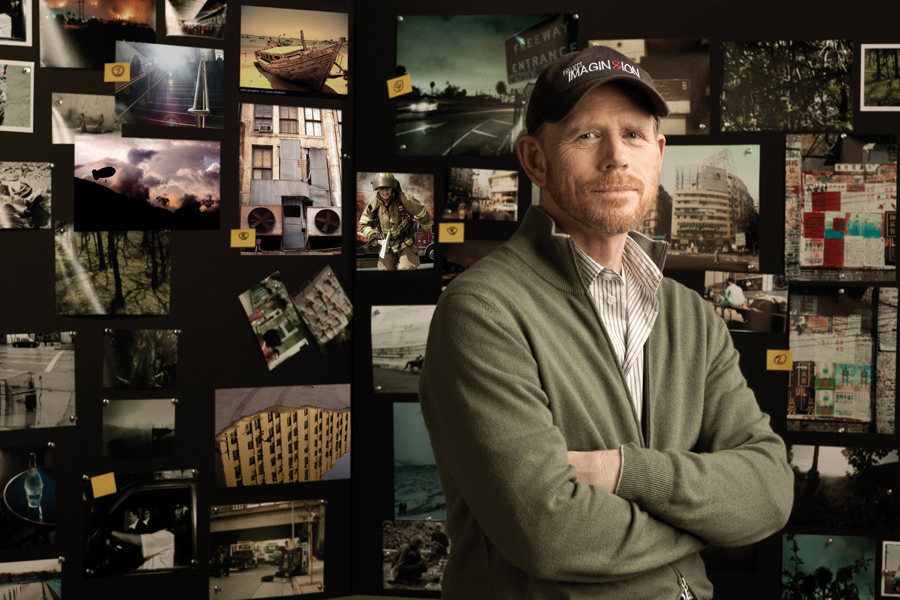
Backing up your DSLR camera’s footage is not only smart, but in most cases, essential. It’s a good idea to practice good habits now so that you don’t look unreliable when you get hired to work on that music video or feature film you’ve been dreaming of like tomorrow’s Ron Howard.

If you liked this article, check out our Facebook page and share it with your friends! For information about our extensive two day Canon Bootcamp, visit our website at www.canonbootcamp.com.

Video Production Manager Azusa Pacific University


I came here literally, just maybe knowing how to turn the camera on. And I think I left here – I can take a camera, a 7D, and actually do a shoot. I didn't know once we were shooting this with the cameras that this also showed you how to capture that footage. You don't always get that.

Karl Morgan
Video Production Manager
Azusa Pacific University


Karl arrived knowing almost nothing about his Canon HDSLR 7D. When he left, he knew how to do a proper shoot, but not only that, how to capture the footage properly for post production. After all, the shoot isn't worth anything if it never makes it to an editing bay, right? Proper digital capture and getting the finished product into the hands of a client requires knowledge of best practices, and our Canon camera classes were developed from experience on set. We know how to prevent loss because we've been through it. Come learn what you need to know at our Canon camera classes.